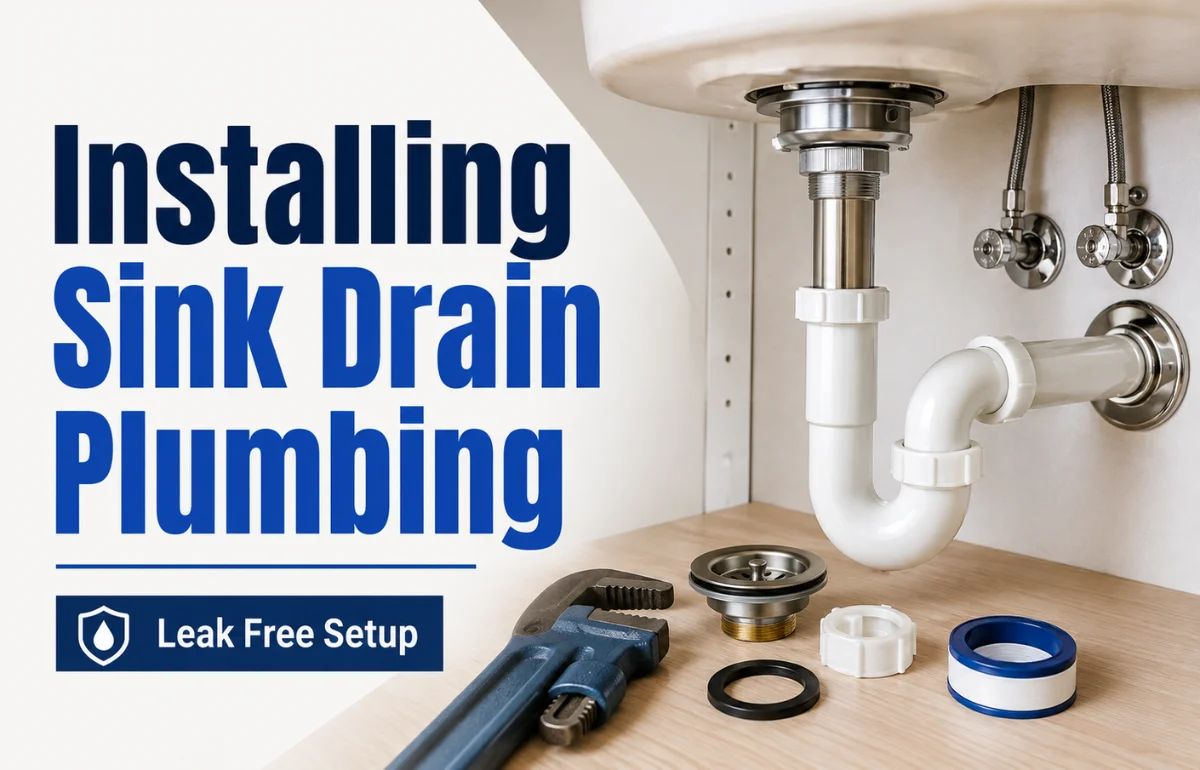
Installing sink drain plumbing means connecting the sink’s drain outlet to the home’s sanitary drainage system with a sealed drain body, tailpiece, P-trap, and trap arm. The basic process is simple: install the sink drain or strainer, dry-fit the pipes, align the P-trap with the wall drain, cut tubular pieces to length, seat the slip-joint washers correctly, tighten the connections, and test under both normal flow and a full-basin release. The most important detail is alignment. A drain assembled under sideways tension may look fine at first but can begin dripping later. I recommend treating every joint according to its sealing method instead of automatically reaching for plumber’s putty or thread tape.
What Is Included in Sink Drain Plumbing?
Under-sink drainage has several simple jobs. The drain flange or basket strainer seals the sink opening. A tailpiece carries water downward, the P-trap holds a water seal that blocks sewer gases, and the trap arm carries wastewater toward the branch drain in the wall.
The 2024 International Plumbing Code lists a 1¼-inch minimum trap for a lavatory and a 1½-inch minimum trap for a domestic kitchen sink. It also requires horizontal drainage piping 2½ inches or smaller to slope at least ¼ inch per foot in the direction of flow. Local codes can amend these rules, so I use them as a baseline rather than a substitute for local requirements.
| Sink type | Common drain setup | Typical minimum trap size | Common drain fitting |
|---|---|---|---|
| Bathroom lavatory | Tailpiece to P-trap to wall drain | 1¼ in. | Pop-up drain |
| Kitchen sink | Tailpiece to P-trap to wall drain | 1½ in. | Basket strainer |
| Kitchen sink with disposer | Disposer outlet to P-trap to wall drain | 1½ in. | Disposer discharge tube |
The P-trap is more than a curved connector. Water retained in the bend forms the trap seal that helps keep sewer gases out of the room. The 2024 International Residential Code specifies a fixture-trap liquid seal of 2 to 4 inches.
Parts and Tools to Have Ready
For most installing sink drain plumbing projects, have the drain assembly, matching P-trap kit, tailpiece or extension tube, slip-joint nuts and washers, bucket, tape measure, marker, adjustable pliers, and a fine-tooth saw or tubing cutter.
You may also need plumber’s putty or a manufacturer-approved sealant for the drain flange. Do not assume every drain uses putty. Some assemblies rely on supplied gaskets or specific sealants, and natural-stone surfaces may require stain-free products.
How I Approach Installing Sink Drain Plumbing
1. Confirm the Outlet Height, Trap Size, and Available Space
Check where the drain pipe enters the wall and how far it sits below the sink outlet. The P-trap must fit without forcing the tailpiece upward or making the trap arm run uphill.
This matters when replacing a shallow sink with a deeper bowl or adding a garbage disposal because both changes can lower the discharge point. If the new outlet ends up below the wall drain opening, a normal gravity-drain layout may not have enough fall.
Before adding extensions and elbows, check the geometry. Extra fittings cannot correct a wall outlet that is fundamentally too high.
2. Install the Drain Flange, Pop-Up, or Basket Strainer
For a bathroom sink, the drain may include a pop-up mechanism. For a kitchen sink, it is more often a basket strainer unless a disposer is installed.
Clean the sink opening completely. Old putty, silicone, scale, or grit under a new flange can create a leak path. Apply the sealing material specified by the drain manufacturer, seat the flange squarely, and tighten the lower gasket and nut without twisting the body out of position.
Kohler’s pop-up instructions, for example, call for plumber’s putty or another suitable sealant under the flange, with a tapered gasket and washer below the fixture. The exact stack varies by product, so the supplied instructions should control.
For pop-up drains, orient the pivot-rod opening toward the back of the sink before final tightening so the stopper linkage can operate normally.
3. Dry-Fit the Tailpiece and P-Trap Before Cutting
This is where I slow the job down. Assemble the tailpiece, trap bend, and wall tube loosely and check whether every piece naturally meets the next one.
The goal is a relaxed assembly. If you must pull the trap sideways, push the tailpiece off vertical, or bend a tube to catch the threads, the layout needs adjustment.
Oatey’s current P-trap guidance uses the same basic sequence: position the trap, measure and cut the wall tube, add slip-joint hardware, connect the wall tube and tailpiece, then tighten and leak-test.
4. Measure and Cut the Tube Cleanly
Mark the wall tube or extension only after the trap is held in its natural final position. Cut squarely and remove burrs so the pipe can seat evenly.
Avoid cutting a piece so short that it barely enters the fitting. Adequate insertion gives the washer a straight, stable surface to seal against.
5. Install Slip-Joint Washers in the Right Direction
Slip-joint connections do not seal because the nut threads are watertight. The nut compresses a washer around the tube.
That is why thread-seal tape usually does not solve a leaking tubular slip joint. A crooked tube, reversed washer, damaged washer, or poor seating needs to be corrected at the sealing surface.
Oatey specifies putting the nut on first, followed by the washer with its tapered side facing the fitting, then tightening snugly without overtightening.
| Connection | What normally makes the seal | Common mistake |
|---|---|---|
| Sink flange to basin | Putty, gasket, or specified sealant | Using the wrong sealant |
| Tubular slip joint | Tapered washer | Taping threads instead of reseating the washer |
| Disposer/specialty fitting | Supplied gasket or system | Mixing incompatible parts |
| Glued PVC/ABS DWV pipe | Correct solvent-weld system | Treating permanent pipe like removable tubular pipe |
6. Align the P-Trap and Trap Arm Without Stress
A clean P-trap installation should look simple: the tailpiece drops vertically, the trap bend sits below it, and the outlet runs toward the wall without an uphill section.
The horizontal drainage path needs continuous fall toward the drain. Under the 2024 IPC, small horizontal drainage piping is generally pitched at least ¼ inch per foot.
Avoid creating an improvised S-trap by dropping vertically after the trap without proper venting. S-trap-style arrangements can siphon their own water seal and are often not compliant with modern plumbing rules.
7. Tighten by Hand First
Start tubular nuts by hand. If a nut will not turn several threads smoothly, stop and realign it rather than forcing it with pliers.
Plastic slip-joint parts need compression, not brute force. Overtightening can deform washers, strip threads, or crack a nut. Tighten progressively so the entire assembly can settle into a neutral position.
The Leak Test Many DIY Installations Miss
Running the faucet for 30 seconds is useful, but I do not consider that a complete test. A slow stream may never load the drainage system the way a full sink does.
I recommend a two-load test. First, run the faucet and inspect every connection. Then close the stopper, fill the basin several inches, and release the water all at once. That larger surge tests the flange, tailpiece, trap, and wall connection together.
Afterward, press a dry paper towel around each joint. A microleak that is difficult to see will leave a clear wet mark. Check again after several minutes, especially around the drain flange and the back side of the P-trap.
This flow-test-plus-basin-release method is a simple way to catch a marginal washer or slightly misaligned joint before the cabinet is filled again.
Common Problems After Installing Sink Drain Plumbing
The P-Trap Leaks at a Slip Nut
Loosen the connection, inspect the washer, confirm its tapered face points into the fitting, and make sure the tubes enter straight. Replace a flattened, split, or hardened washer instead of tightening harder.
The Drain Leaks Around the Sink Opening
This usually points to the flange seal rather than the P-trap. Remove the drain body, clean both mating surfaces, confirm gasket order, and reinstall it with the manufacturer-specified sealant.
The Sink Drains Slowly Even Though the Trap Is New
Look beyond the P-trap. A partially blocked wall drain, poor venting, an uphill trap arm, excessive corrugated flex pipe, or a disposer outlet that is too low relative to the wall connection can all restrict performance.
The Pipes Connect Only When Forced Sideways
Do not leave them under tension. Use the correct extension, wall tube, offset arrangement, or approved fittings so the joints align naturally.
A connection that has to be held in place while tightened is a future leak candidate.
A Better Rule Than “Tighten It Until It Stops Leaking”
The most useful principle I can give for installing sink drain plumbing is this: fix the geometry before increasing the force.
A correctly sized and aligned tubular drain often seals with modest compression. When a joint keeps leaking, more wrench pressure can hide the actual fault—wrong washer orientation, poor insertion, a burr, mismatched diameters, or a pipe being pulled sideways.
My diagnostic order is alignment, washer, insertion depth, surface condition, then tightening. That order prevents a small correction from turning into a cracked fitting and another trip to the hardware store.
When to Call a Plumber
Call a licensed plumber if the wall drain is too high for the sink or disposer, the drain drops through the floor in an S-trap-style layout, piping inside the wall is damaged, sewer odor persists after the trap is filled, or the sink repeatedly backs up despite a clear removable trap.
Check local permit and code requirements before relocating a drain or changing vent piping. Model codes are useful references, but the locally adopted code and amendments govern the installation.
FAQs About Installing Sink Drain Plumbing
Can I install sink drain plumbing myself?
Yes, if you are replacing accessible tubular parts and the existing wall drain and vent are correctly positioned. Drain or vent alterations are better handled by a licensed plumber.
What size P-trap do I need for a sink?
The 2024 IPC lists a 1¼-inch minimum trap for a lavatory and 1½-inch for a domestic kitchen sink, subject to local rules and fixture requirements.
Do I need plumber’s putty when installing a sink drain?
Sometimes. Use putty, silicone, or a supplied gasket only as directed by the sink and drain manufacturer; P-trap slip joints normally seal with washers.
Why does my new sink drain leak at the P-trap?
Common causes are misalignment, a reversed or damaged washer, inadequate tube insertion, or overtightening. Reseat the joint before applying more force.
Should the P-trap drain pipe slope toward the wall?
Yes. The trap arm should drain toward the sanitary line without running uphill; the 2024 IPC generally requires ¼ inch per foot for pipe 2½ inches or smaller.
Final Check Before You Close the Cabinet
Installing sink drain plumbing is less about adding more fittings and more about making a few correct connections: a sealed sink outlet, vertical tailpiece, correctly sized P-trap, naturally aligned trap arm, and properly seated washers.
Before restoring cabinet storage, run the faucet, fill and release the basin, wipe each joint dry, and inspect again. If the assembly stays dry and drains quickly without gurgling or sewer odor, the installation has passed a meaningful real-world test.
If the geometry or venting looks wrong, correct that problem rather than compensating with extra sealant or extra tightening.

Olivia Parker is a home improvement research writer with 8+ years of experience covering home design, renovation ideas, maintenance tips, and practical living solutions. She creates easy-to-follow content to help readers make informed decisions about improving their homes.